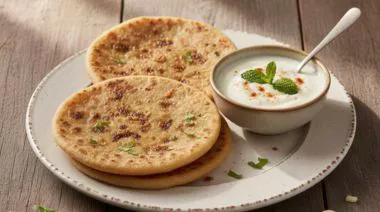
Simple Garlic Paratha is built around surface flavour rather than stuffing. Minced garlic meets direct tawa heat, creating crisp edges and a fragrant bite. Using Aashirvaad Shudh Chakki Atta ensures a dough that hydrates evenly, stretches without tearing, and holds moisture long enough for the garlic to roast instead of burn.
Peel and finely mince fresh garlic to a near-paste texture. Avoid crushing it fully, as intact bits roast better on the tawa. Keep the garlic raw and uncovered so its natural oils stay sharp and aromatic.
Description - Step 2
Make Dough
Add Aashirvaad Shudh Chakki Atta and salt to a bowl. Gradually pour in water and knead into a soft, smooth dough. The chakki-ground wheat absorbs moisture evenly. Cover and rest for 10 minutes to improve stretch and softness.
Description - Step 3
Divide & Roll
Divide the rested dough into equal portions and roll each into a smooth ball. Dust lightly with atta and roll into a medium-thick disc. Avoid rolling too thin, as garlic needs surface contact time to roast evenly.
Description - Step 4
Add Garlic
Sprinkle minced garlic evenly over one side of the rolled paratha. Press lightly with a rolling pin so the garlic adheres to the surface. This step ensures garlic roasts directly on the tawa instead of falling off mid-cook.
Description - Step 5
Roast on Tawa
Place the paratha garlic-side down on a hot tawa. Cook until bubbles form and garlic turns lightly golden. Flip, apply ghee or oil, and roast the second side on medium heat until crisp spots appear.
Description - Step 6
Finish & Serve
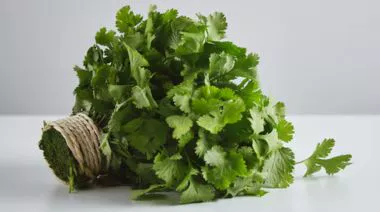
Remove once both sides are evenly cooked. Sprinkle chopped coriander if using. Serve immediately while the garlic aroma is at its peak, and the paratha remains soft inside.